Embarking on the journey to grow weed at home can be a rewarding experience, especially for enthusiasts seeking a more hands-on approach to their cannabis consumption. “How to grow cannabis at home” is a query many have, but not everyone has access to sophisticated growing equipment.
The growing will be usually organized into four steps: Germination, Seedling, Vegetative and Flowering. Each phase takes proper time; a general timeline can be outlined based on the plant’s lifecycle phases.
- Germination (1-2 weeks): This is when the seed sprouts and begins to grow its first leaves.
- Seedling (2-3 weeks): The plant develops its initial set of true leaves and requires lots of light and care during this fragile stage.
- Vegetative Stage (3-8 weeks): During this phase, the plant undergoes most of its growth in height and foliage. Indoor growers can control the length of this phase by adjusting light exposure, while outdoor growth depends on the season.
- Flowering Stage (8-11 weeks for most strains): This is when the cannabis plant starts developing buds. The transition to this stage is triggered by reducing the light exposure to about 12 hours per day for indoor plants or naturally as the days grow shorter for outdoor plants. The flowering phase is crucial, and this is when monitoring for the change in pistil color and trichome clarity becomes important.
Fortunately, with a few simple techniques and everyday items, cultivating cannabis at home can be straightforward and accessible. Let’s jump into it!
Starting with the Basics: Seeds and Soil
The foundation of any successful weed grow starts with quality seeds and soil. Selecting the right strain is crucial, as some are more resilient and better suited for less controlled environments. You need to consider indica vs sativa. Indica strains tend to stay short and bushy, perfect for indoor growing.
Sativas grow taller and lankier, better suited for outdoor growing. Aim for an indica or indica-dominant hybrid. Here are a couple of strains renowned for their robustness and adaptability, making them ideal choices for beginners or those looking to grow cannabis with minimal intervention.
Some top strains for beginners include:
Northern Lights is a classic strain that is highly recommended for its ease of growth and resilience. This predominantly Indica variety is known for its ability to forgive beginner mistakes and adapt to varying conditions without significant impact on its yield or potency. Northern Lights typically has a fast flowering time and a compact stature, making it suitable for small spaces and less-than-ideal lighting conditions. Its ability to resist pests and diseases further cements its status as a top choice for new growers.
- Blue Dream
Blue Dream, a Sativa-dominant hybrid, is celebrated for its vigorous growth and adaptability. It’s a strain that can handle fluctuations in environmental conditions better than many others, making it suited for growers with limited control over their grow space’s climate. Blue Dream’s popularity also comes from its pleasant berry aroma and balanced effects, offering both cerebral stimulation and physical relaxation. This strain’s robust nature and high yields make it a rewarding grow for both novices and experienced cultivators alike.
- Honorable Candidates
If you want to try other strains than what we mentioned so far, you can consider Critical Purple Auto; a fast flowering hybrid with dense, purple-tinged buds. Handles various conditions well. Furthermore, Gorilla Glue Auto is also a heavy-yielding hybrid with sticky, resinous buds. Very easy to grow.
Considering Auto-flowering and Feminized Seeds
Opt for auto-flowering or feminized seeds to increase your chances of a successful harvest without the need for intricate light cycles or sex identification. Auto-flowering cannabis seeds are bred to switch from the vegetative growth stage to the flowering stage automatically, without the need for the grower to change the light schedule.
This trait is derived from Cannabis ruderalis, a subspecies known for its ability to flower based on age rather than light exposure. Auto-flowering strains typically have a shorter overall growth cycle, often ready for harvest in as little as 8 to 10 weeks from germination.
Feminized seeds on the other hand are specifically bred to produce only female plants. Since female plants are the ones that produce the cannabinoid-rich flowers (buds) sought after by most growers, feminized seeds eliminate the uncertainty of growing male plants that do not yield smokable buds and can pollinate females, leading to seeded flowers.
All of the above strains we introduced are cannabis strains that can be found in both feminized and auto-flowering seed options, depending on the breeder and supplier.
The reason why we are insisting on auto-flowering and feminized is that:
Benefits of Auto-flowering Seeds:
- Simplified Light Requirements: Growers don’t need to manage light cycles carefully to induce flowering, making these strains ideal for beginners or those without the ability to control light in their growing environment.
- Compact Size: Most auto-flowering plants remain relatively small, which is perfect for indoor spaces or discreet outdoor cultivation.
- Fast Cycle: The quick turn-around from seed to harvest allows for multiple grow cycles in a year, even in regions with shorter growing seasons.
Benefits of Feminized Seeds:
- Efficiency: Almost 100% of seeds will grow into bud-producing female plants, ensuring that space, nutrients, and effort are not wasted on male plants.
- Convenience: Growers can avoid the process of identifying and removing male plants, simplifying the cultivation process.
- Higher Yield Potential: Since all plants are female and capable of producing buds, the overall yield from a crop of feminized seeds can be significantly higher compared to a mixed-sex crop.
Soil
Use quality potting soil designed for cannabis. Regular garden soil can be too dense and may contain pests or mold. Aim for a high quality potting mix that provides good drainage and aeration.
If you couldn’t find a cannabis soil, aim for soil, rich, organic potting mix from your local garden store as it can provide your cannabis plants with the nutrients they need to thrive. Ensure the soil has good drainage to prevent waterlogging, which could harm your plants.
Germination
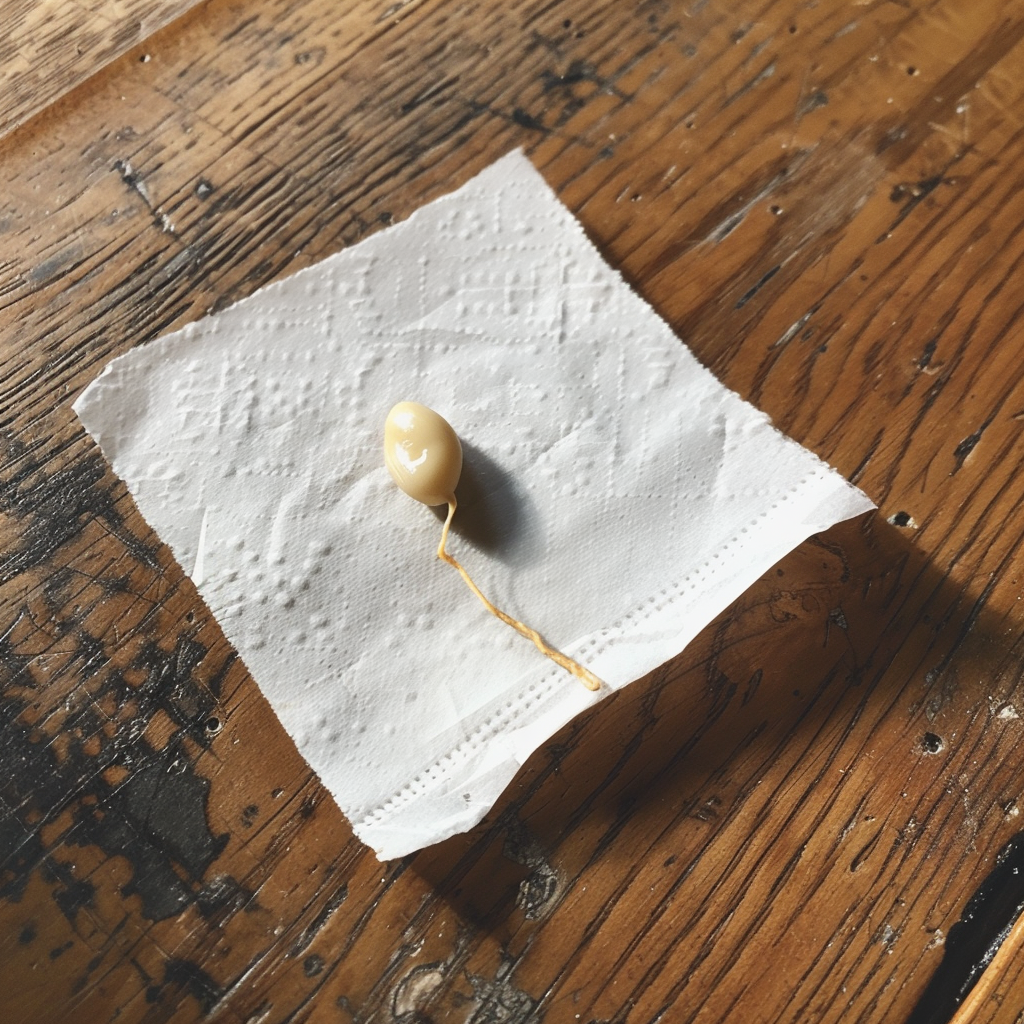
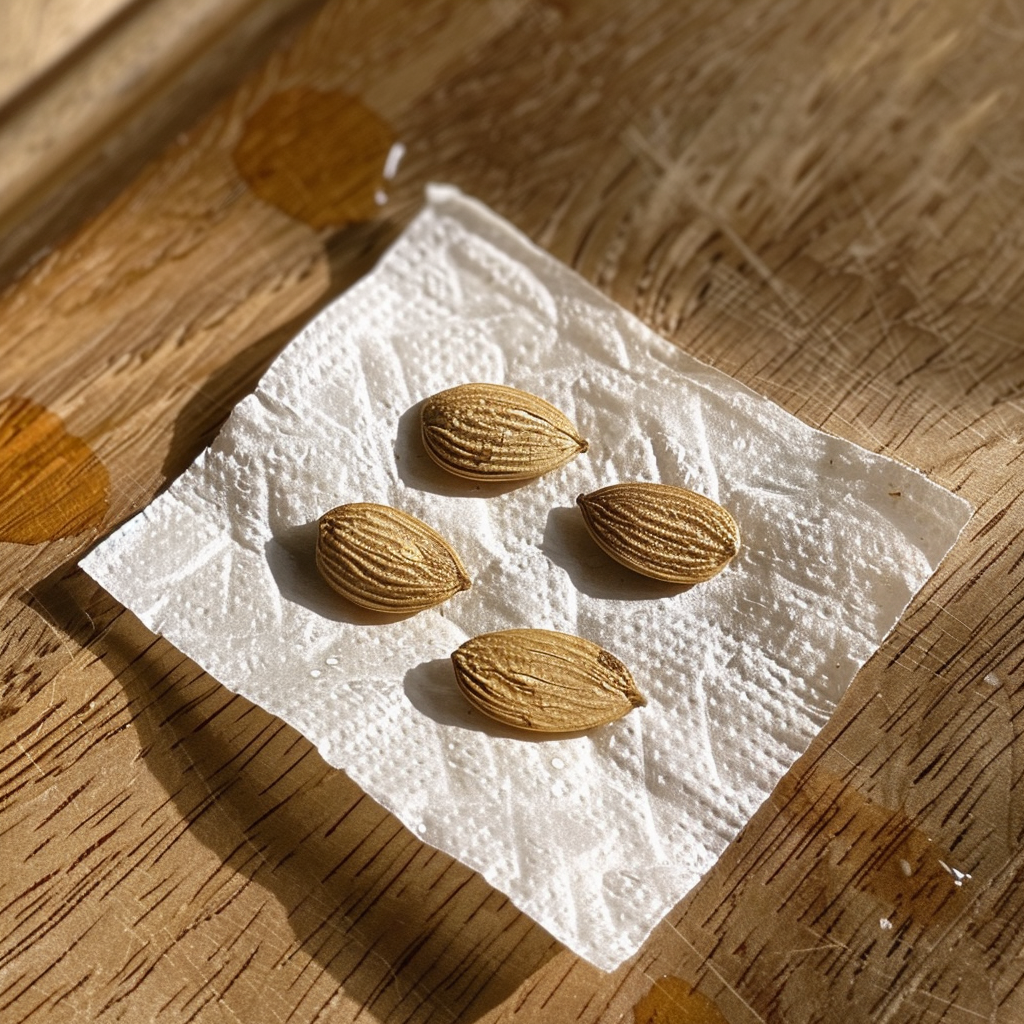
Germinating cannabis seeds is an important first step to ensure healthy plants. There are a few methods for germinating seeds, but one of the easiest is the paper towel method.
To use this method, take several sheets of paper towel and fold them over into a moist pouch. Dampen the paper with clean water, being careful not to saturate it completely. Gently place your seeds in the damp paper towel, spacing them out if germinating multiple seeds. Fold over the paper towel and place it in a plastic bag or container to retain humidity. Store the seeds in a warm, dark place, around 70-80°F.
Check on the seeds daily to make sure the paper stays moist – add a few drops of water if needed. Cannabis seeds normally sprout within 2-7 days when conditions are right. As soon as the seed cracks open and a little white root emerges, it is ready to be planted.
Carefully transfer the sprouted seeds into your growing medium. A seed starting mix or light potting soil works well. Gently plant the seeds just below the surface of the soil, with the white root facing down. Water lightly to avoid dislodging the seedling. Keep the planted seeds in a warm, humid, dark place until seedlings emerge from the soil in 1-2 days. Once the seedlings are up, you can move them into your grow space.
Planting
The planting process is crucial to get right for a successful grow. Here are some key tips:
- Plant 1-2 seeds in each pot or container. Don’t overcrowd seeds as this leads to unhealthy competition. Space them out with room to grow.
- Water seeds and seedlings sparingly at first. Overwatering is a common mistake for beginners. Aim to keep soil moist but not soaked. Let the top inch dry out between waterings.
- Consider using a heating mat to maintain soil temperature around 70-80F. This helps with germination rates.
- Allow 1-2 weeks of vegetative growth before transplanting sprouts into their final pots. Gradually increase water and nutrients.
Proper planting techniques give your cannabis the best possible start. Take it slow with seeds and avoid overwatering. Give them warmth, light, and loose soil for healthy sprouts ready for transplanting.
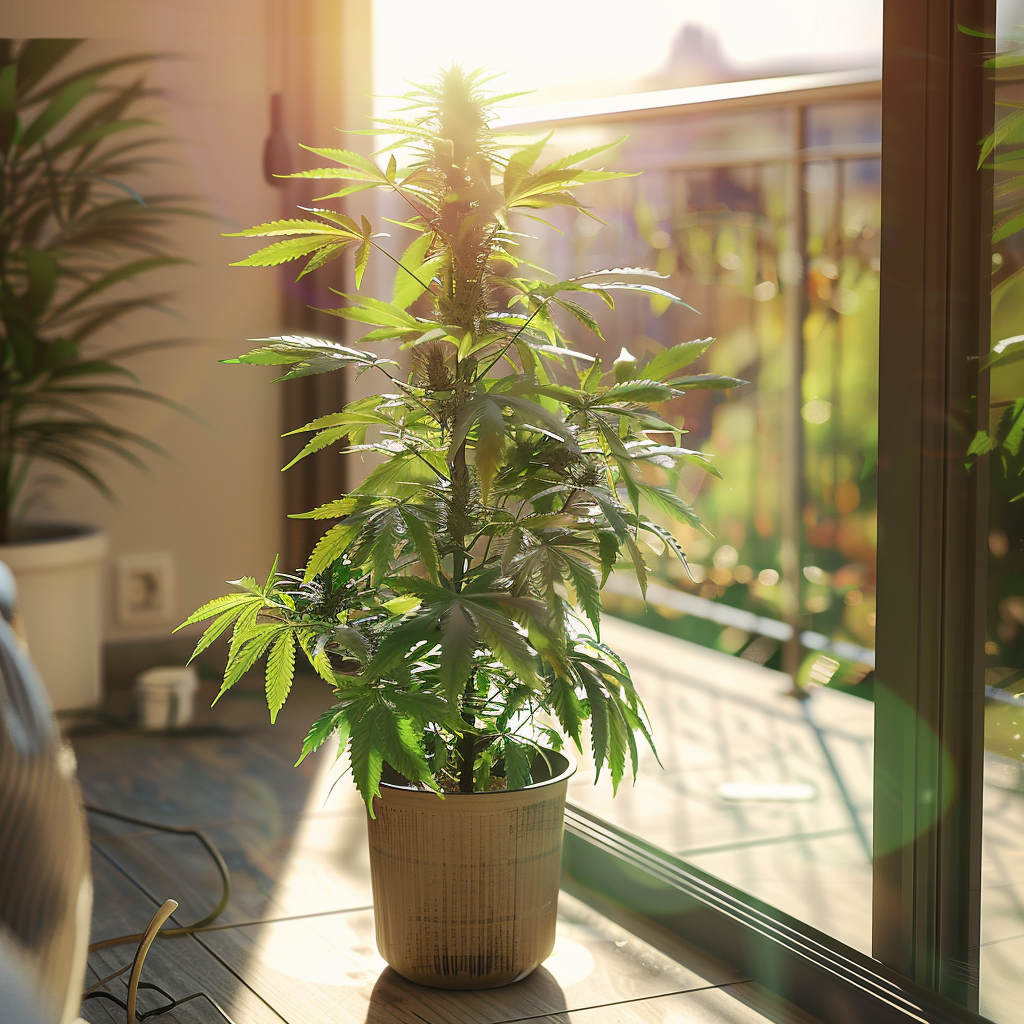
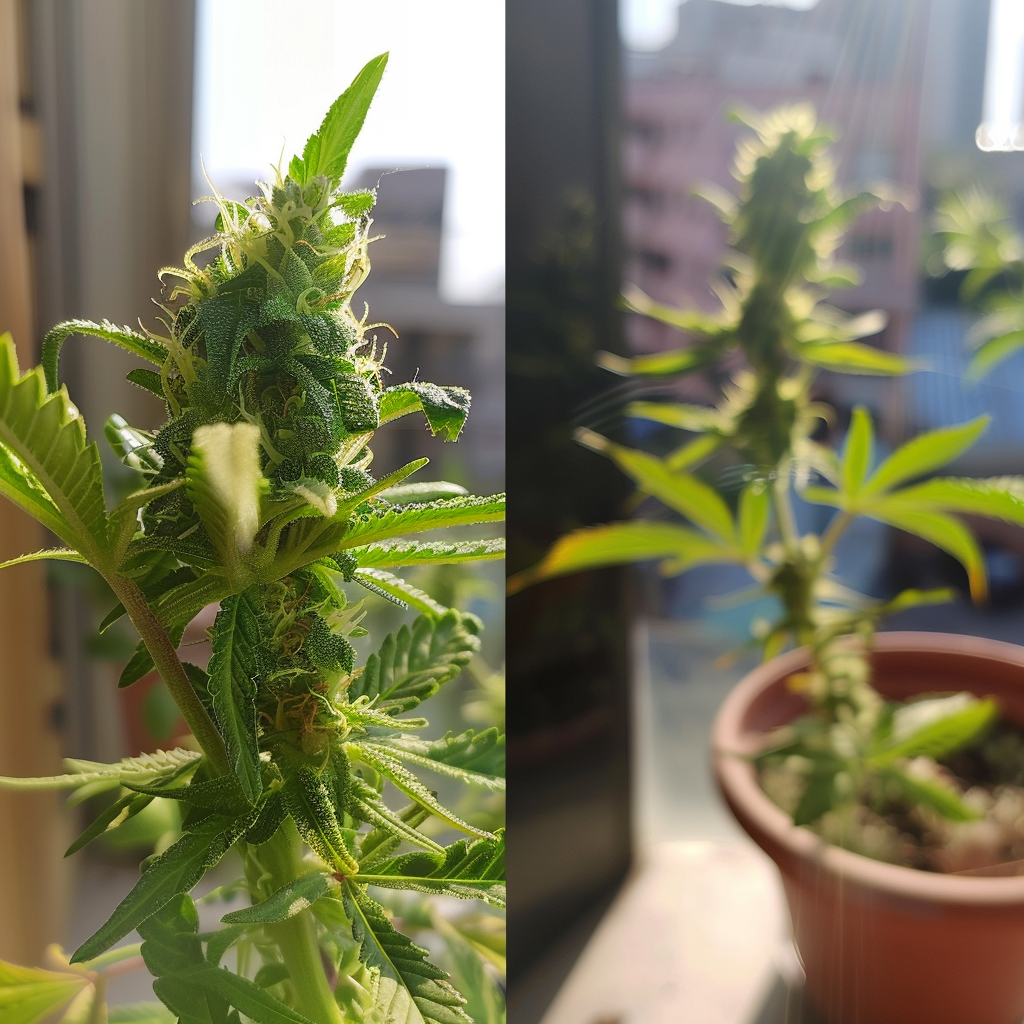
Natural Light: The Sun as Your Grow Light
When it comes to “grow weed at home,” leveraging natural resources like sunlight can significantly reduce the need for artificial lighting systems. Therefore, growing cannabis at home without special equipment, the easiest option is to place the plants in a sunny window.
A sunny window sill or a balcony can serve as the perfect spot for your cannabis plant. Cannabis thrives under direct sunlight. Position the plants where they will get sun for most of the day. A south-facing window is ideal. Rotate the plants occasionally so all sides get sufficient light exposure. Cannabis requires at least 6-8 hours of direct sunlight daily, so positioning your plant to maximize light exposure is key.
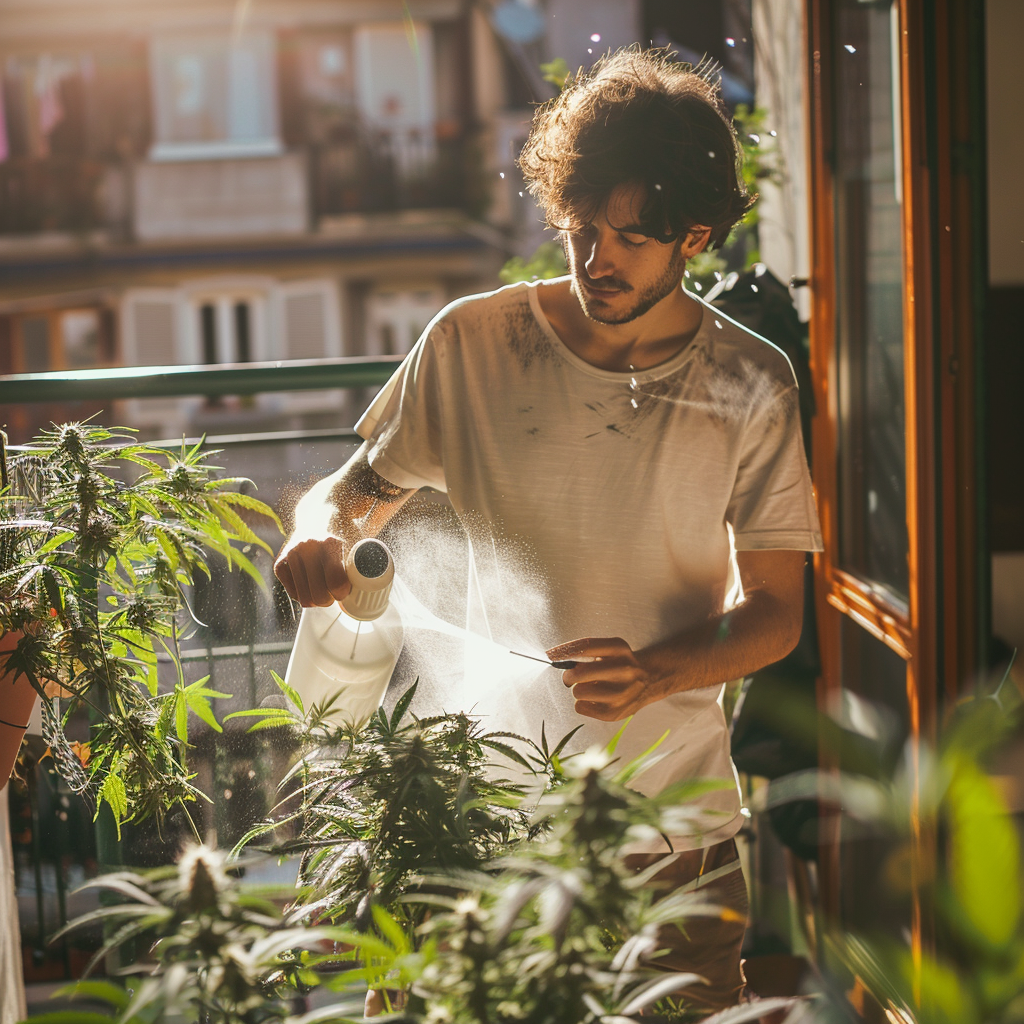
Watering Wisely
Water is vital for your cannabis plant, but over or under-watering can hinder its growth. The key is to maintain a balance. A simple method to check for moisture is to stick your finger about an inch into the soil. If it feels dry, it’s time to water. Ensure your container has holes at the bottom to allow excess water to drain, preventing root rot.
Remember, the leaves can dry out quickly under direct sun. A spray bottle works well for misting. Just a few sprays on each side of the leaves is sufficient.
Nutrients
When growing cannabis at home without any special equipment, focus on providing nutrients through organic methods. This will ensure healthy plants without the need for measuring and mixing chemical nutrient solutions.
Liquid organic nutrients can be applied once a month by mixing worm castings, bat guano, fish emulsion, and kelp extract into water. Use approximately 1 cup of each nutrient per 5 gallons of water. The mixture provides a broad spectrum of macronutrients like nitrogen, phosphorus, and potassium as well as micronutrients. Pour the nutrient solution over the soil around the base of each plant.
Brewing compost tea weekly is another great way to feed plants. Fill a 5 gallon bucket half full with quality compost and fill the bucket with non-chlorinated water. Add a bubbler and let it brew for 24-48 hours to extract the beneficial microbes and nutrients from the compost. The finished compost tea provides both nutrients and beneficial biology when poured onto the soil.
When growing cannabis without special nutrients, it’s important not to overdo it. While most other plants require heavy feeding, cannabis thrives with a lighter touch. Provide just enough organic nutrients to maintain healthy green leaves. Avoid excessive yellowing or burnt leaf tips by going easy on nutrient applications. With a little trial and error, you’ll learn the optimal level of nutrients your plants need.
Natural Pest Control
Pests can be a challenge when trying to grow cannabis at home without equipment. Natural deterrents like neem oil or a simple soap and water spray can protect your plants without the need for chemical pesticides. Regularly inspecting your plants for signs of pests or disease can catch problems early, allowing for natural interventions.
The Importance of Pruning
Pruning or trimming your plant can encourage healthier growth. Removing dead or overgrown leaves ensures that light and air can reach all parts of the plant, promoting even growth. This process can be done with a simple pair of scissors or small clippers.
Overgrown leaves are usually large leaves shadowing lower branches, dense canopy and leaves touching or overlapping significantly. Overlapping leaves might also indicate that the plant is focusing energy on leaf production at the expense of flowering sites.
Harvesting Your Plant
Knowing when to harvest your cannabis is one of the most important parts of the growing process. You want the buds to reach their maximum potency.
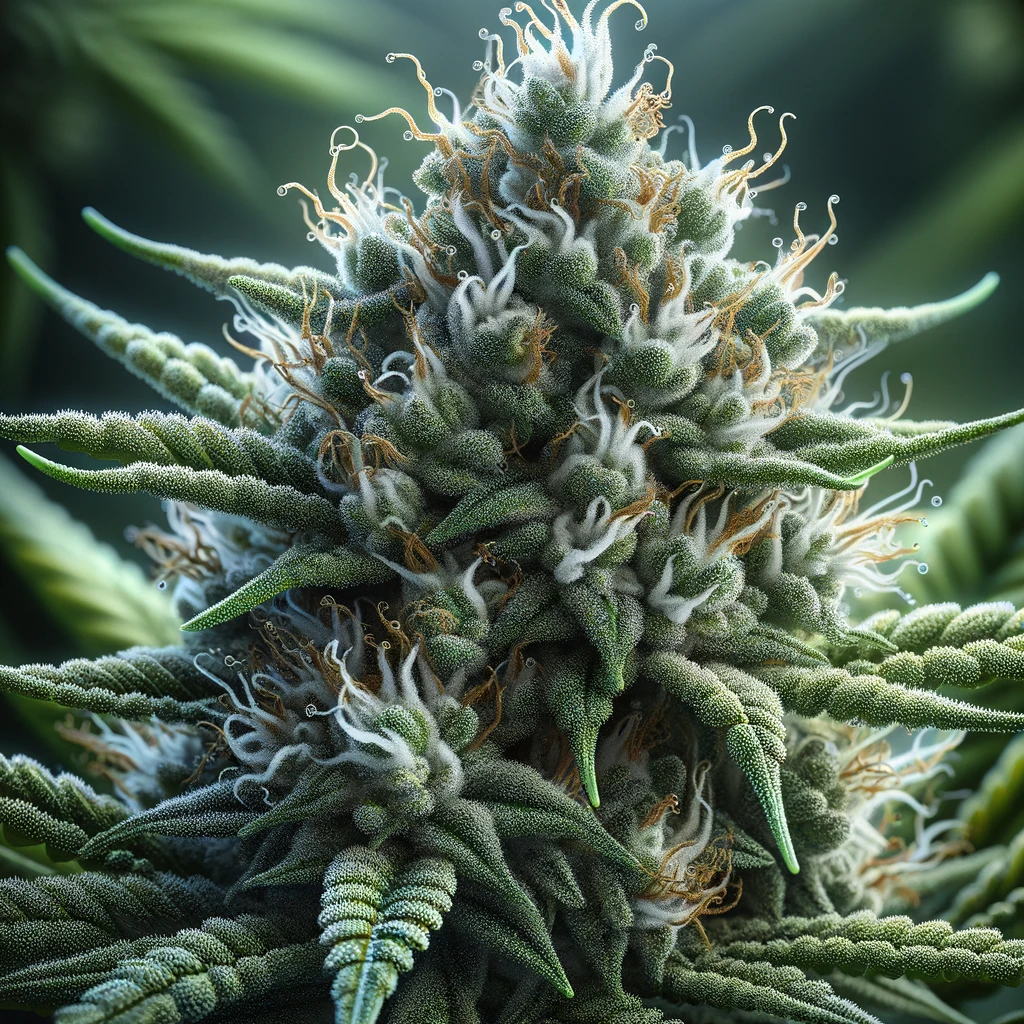
The best way to tell when cannabis is ready for harvest is to examine the trichomes. Trichomes are the tiny, hair-like crystals that cover the buds. As cannabis matures, the trichomes will change from clear to cloudy to amber (milky white) in color. You want about half the trichomes to be amber before harvesting. This indicates peak THC levels.
Use a jeweler’s loupe or magnifying glass to check the trichomes daily as you near harvest time. When you see around 50% amber trichomes, it’s time to cut down the plants.
Use pruners or scissors to cut the buds, leaving some leaves surrounding each bud. Leave a few inches of stem below each cut. Handling the buds gently, hang the branches upside down on a drying rack or clothesline. Make sure there is adequate air circulation around the buds as they dry.
The drying process takes around 5-15 days depending on humidity levels. The buds are ready for curing when the smaller stems snap instead of bending. Proper drying and curing maximizes the quality and flavor of your homegrown cannabis.
Curing
Curing is one of the most important steps when growing cannabis at home. Proper curing enhances the aroma, flavor, and effects of your harvest.
After drying the buds for 5-7 days, trim off any large fan leaves and place the buds into airtight jars. Open the jars daily to “burp” the buds and release any excess moisture and humidity built up inside.
Controlled humidity is essential during curing. You want the buds dry enough that mold doesn’t develop, but with enough moisture that the curing process can occur. Slowly draw out the moisture over several weeks.
For best results, cure the buds for a minimum of 4 weeks. This allows time for the chlorophyll to break down and for the flavors and aromas to fully develop.
The curing process smooths out the harsh taste of freshly dried buds and brings out the subtle flavors. Properly cured cannabis will provide a much higher quality smoke. Patience is key, so avoid sampling the buds too soon.
Curing is the final step to finish your homegrown cannabis. Follow these simple steps for 5-7 days of drying, 4+ weeks of curing, and daily “burping” to enhance your harvest.
Conclusion
By following these simple steps, “how to grow cannabis at home” becomes a manageable, rewarding project that doesn’t require expensive equipment or extensive horticultural knowledge. Whether you’re a novice or a seasoned grower, cultivating cannabis at home can deepen your appreciation for the plant and its cultivation process.
FAQs
Q: Do I need a grow tent to cultivate cannabis at home?
A: No, a grow tent is not necessary. With adequate natural light, water, and care, you can successfully grow cannabis at home.
Q: Can I grow cannabis outside?
A: Yes, if your climate permits. Cannabis requires a warm, sunny environment to flourish.
Q: How long does it take to grow cannabis?
A: Generally, it takes about 3-4 months from seed to harvest, though this can vary depending on the strain and growing conditions.
Q: Is it expensive to grow cannabis at home?
A: Growing cannabis at home without equipment can be very cost-effective, especially when utilizing natural resources and everyday items.